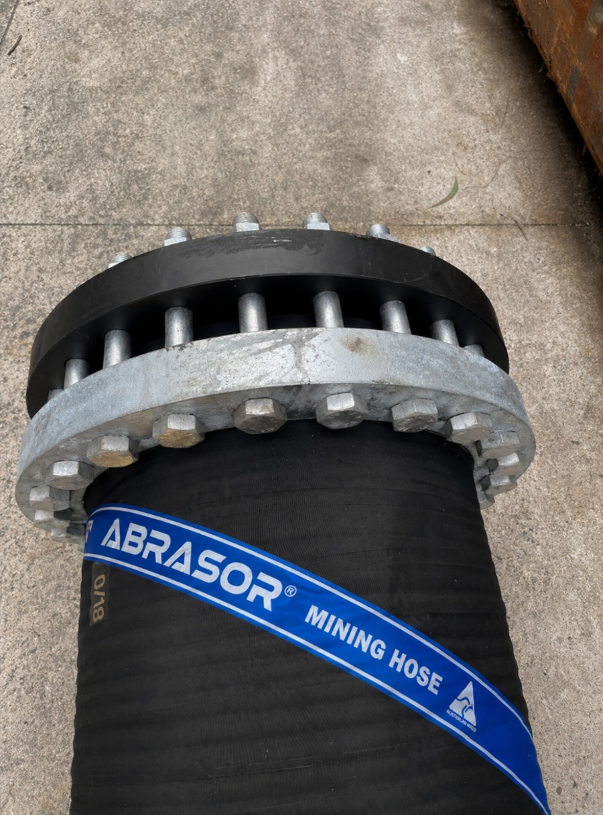
In mining and slurry pipelines, correct flange bolt torque is essential for safe, leak-free hose performance.
Unlike rigid steel pipe, mining hose contains rubber components that compress during tightening. This means bolt tension can reduce after the first pass, requiring multiple tightening cycles to achieve the correct final clamp load.
Step 1: Confirm the Connection Type
These torque values are intended for bolting a rubber beaded end mining hose to a flat steel flange face.
It is also important to understand that every application is different. Pressure, end construction, hose application, bolt grade, can all influence the final torque required.
The values below should therefore be used as a general installation guide only.
Step 2: Select the Starting Torque
| Pressure Rating |
150 PSI / 10 Bar |
300 PSI / 20 Bar |
450 PSI / 30 Bar |
| Recommended Starting Torque |
80 Nm |
100 Nm |
200 Nm |
Please note the above torque values do not apply to different connection styles such as rubber-to-rubber joints, fixed flanges, flanged coupling or Victaulic ends. For these styles different procedures may apply.
Step 3: Check Hose and Flange Alignment Before tightening, make sure:
- Hose ID is aligned with the pipe ID
- Flange faces are square
- The hose is not twisted
- Bolts are not being used to pull pipework into position
Poor alignment can cause leaks even when the bolts are torqued correctly.
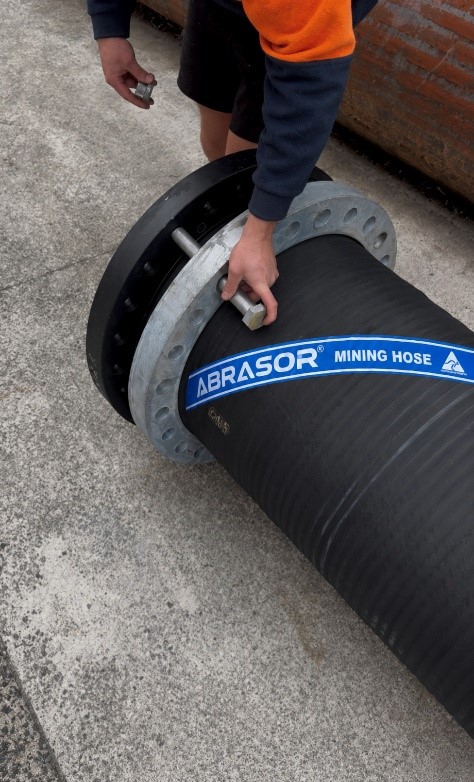
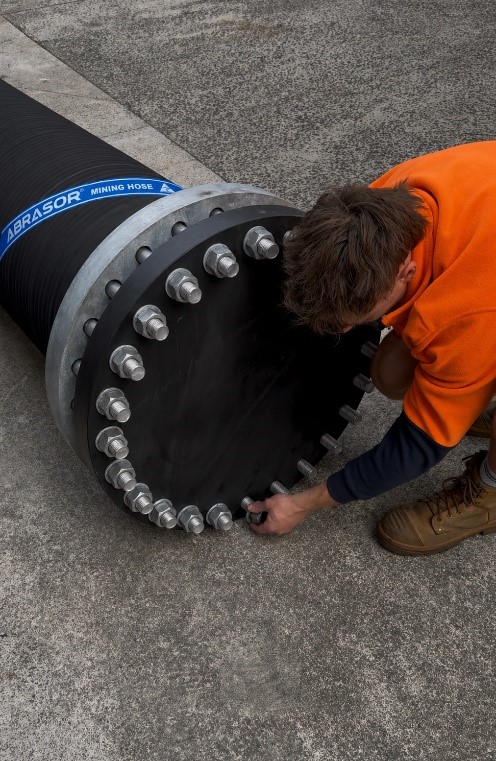
Step 4: Fit Bolts and Hand Tighten
Install all bolts, nuts, and washers.
Hand tighten first so the flange faces pull together evenly.
Do not fully tighten one bolt at a time.
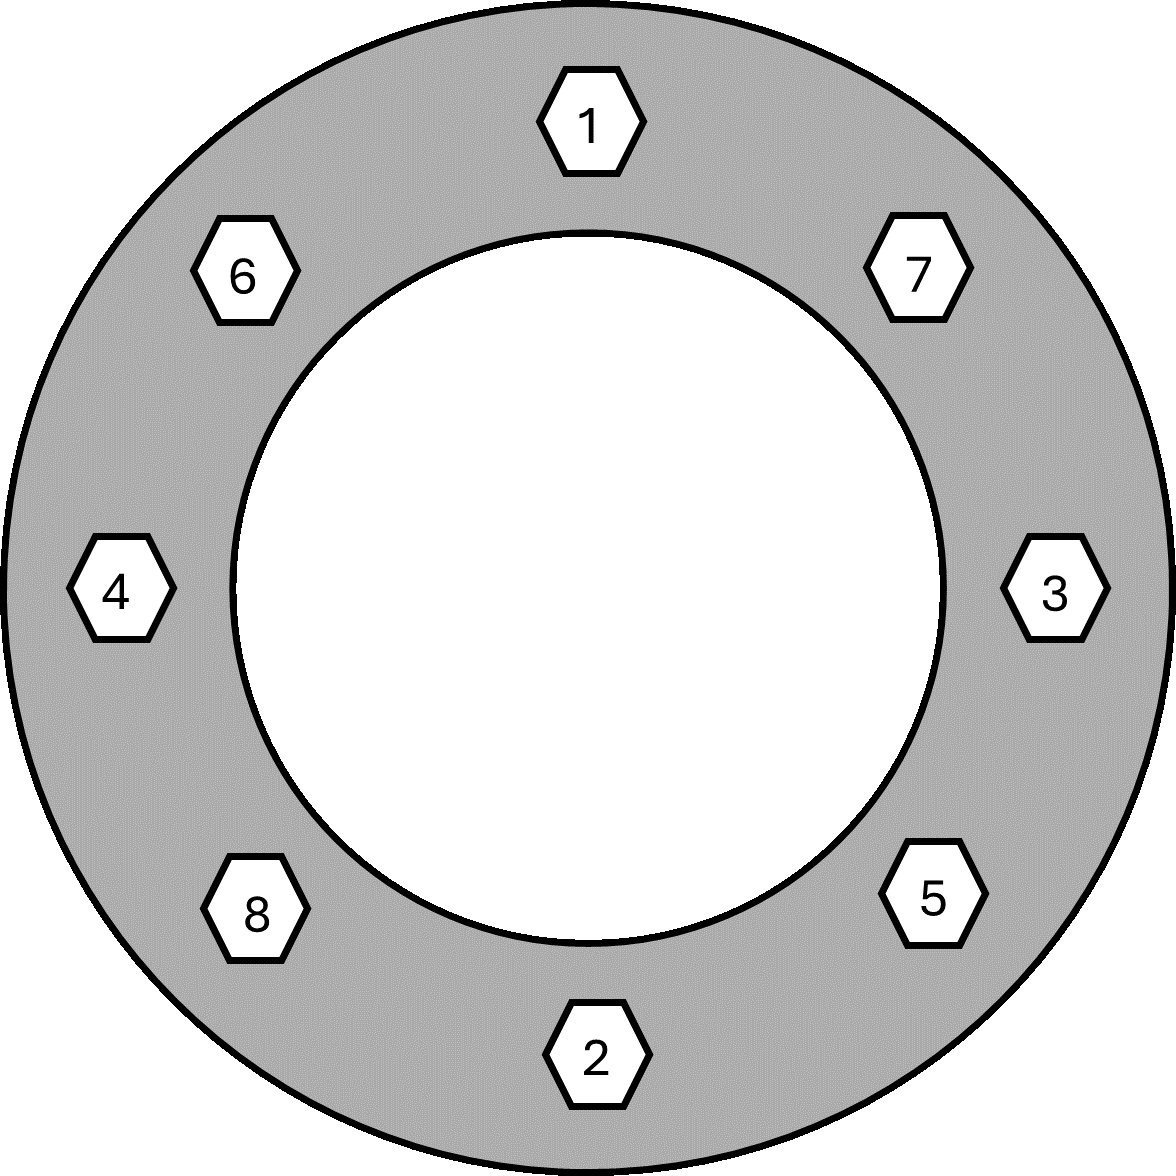
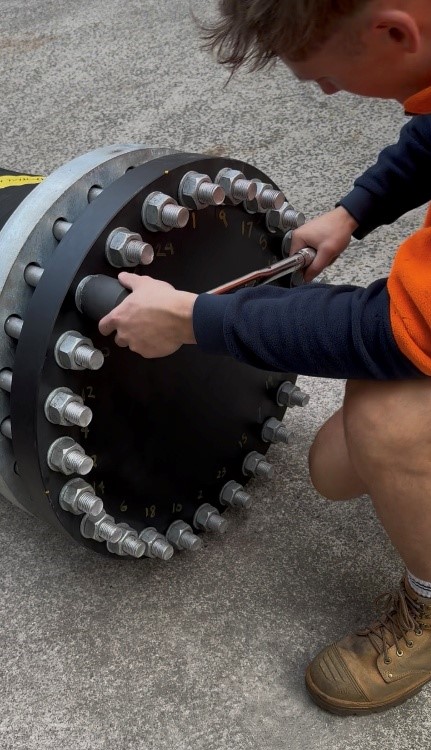
Step 5: Torque in a Star Pattern
Tighten bolts in a star pattern to apply even pressure across the rubber bead.
For an 8 bolt flange the sequence will look like the above diagram
Step 6: Complete Minimum 3 Torque Passes
Because rubber absorbs pressure and settles under load, bolts must be gone over at least three times at full load.
Recommended method:
| Pass |
Torque |
| Pass 1 |
75% of target torque |
| Pass 2 |
100% of target torque |
| Pass 3 |
100% of target torque |
| Pass 4 |
100% of target torque |
Step 7: Inspect for Leaks
Once the hose is installed and pressurised, inspect the flange joint for leaks.
Check for:
- Weeping around the flange
- Uneven compression
Step 8: Increase Torque Only if Required
If the hose continues to leak after the correct torque procedure:
- Increase torque in 20 Nm increments
- Retorque using the star pattern
- Go around the flange evenly
- Recheck for leaks after each increase
It is critical to increase torque in small increments. Over torquing can distort the flange or backing ring causing premature wear or failure.
Step 9: Final Check
Before putting the hose into full service, confirm:
- All bolts have been torqued evenly
- There are no leaks
- The hose is not under twist or strain
- Supports are correctly positioned
Correct bolt torque, alignment, and installation procedure are critical to achieving safe and reliable mining hose performance.